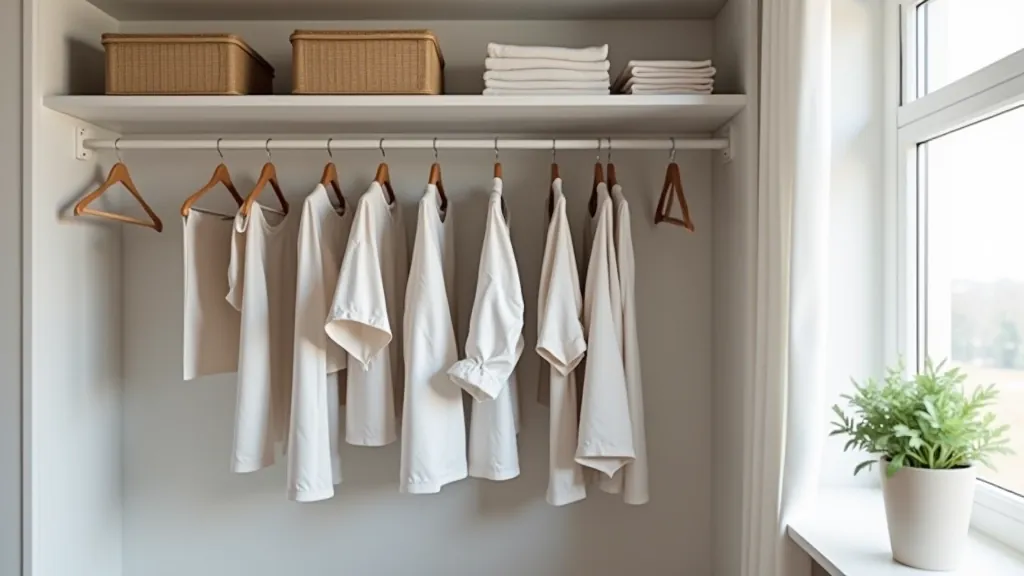
Organizing Your Closet: A Room-by-Room Approach
Learn how to sort, fold, and arrange clothes so you can actually find what you're looking for.
We show you how to install floating shelves safely and style them so they actually look good in your apartment.
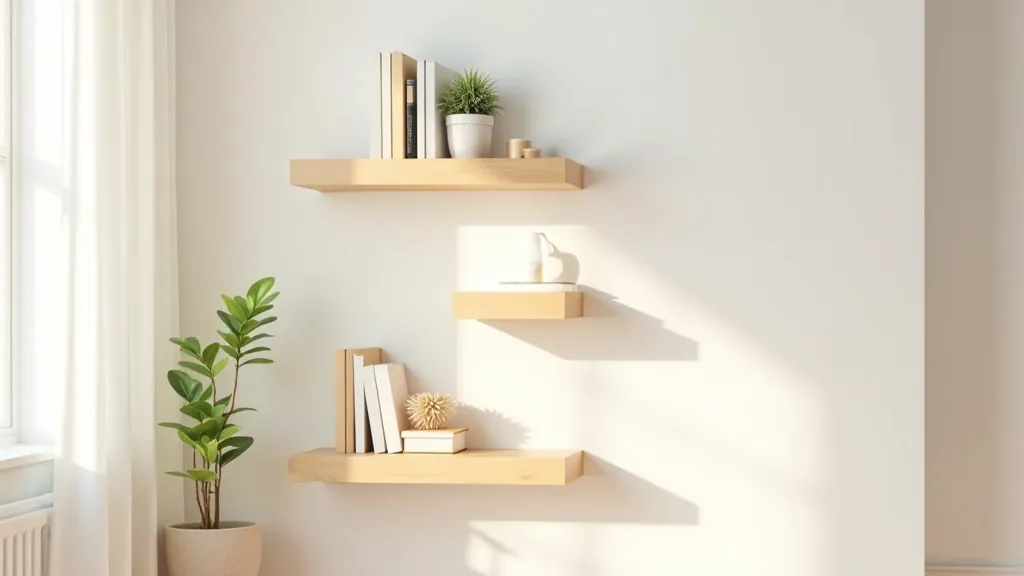

Floating shelves aren't just a trend — they're genuinely practical. Unlike traditional shelving, they don't need visible brackets or legs eating into your floor space. You get storage that looks clean and modern without taking up precious room. Plus, they're flexible. You can install them anywhere from your bedroom to your kitchen to your living room corner.
The real benefit: A 1.2-meter shelf takes up roughly 0.05 square meters of wall space but holds what'd normally need a full cabinet or dresser.
But here's the thing — they only work if you install them correctly. We've seen plenty of shelves that sag after a few months or won't hold anything heavier than a book. The difference? Proper installation and choosing the right location on your wall.
The installation starts in your head, not with a drill. You need to think about three things: what you're storing, where it goes, and whether your wall can handle it.
Most floating shelf brackets can hold 20-30 kilograms per shelf. Sounds like a lot until you start adding books. A single bookshelf can easily hold 15-20 kilograms of just books, then add a plant, some decorative items, and you're pushing it. Know what you're putting on there before you buy the shelves.
Drywall walls need special anchors. Concrete walls are actually easier — just use the right drill bit. Brick walls work great too. But hollow walls with no studs? That's where most people run into problems. The brackets need to hit something solid, or the whole thing fails.
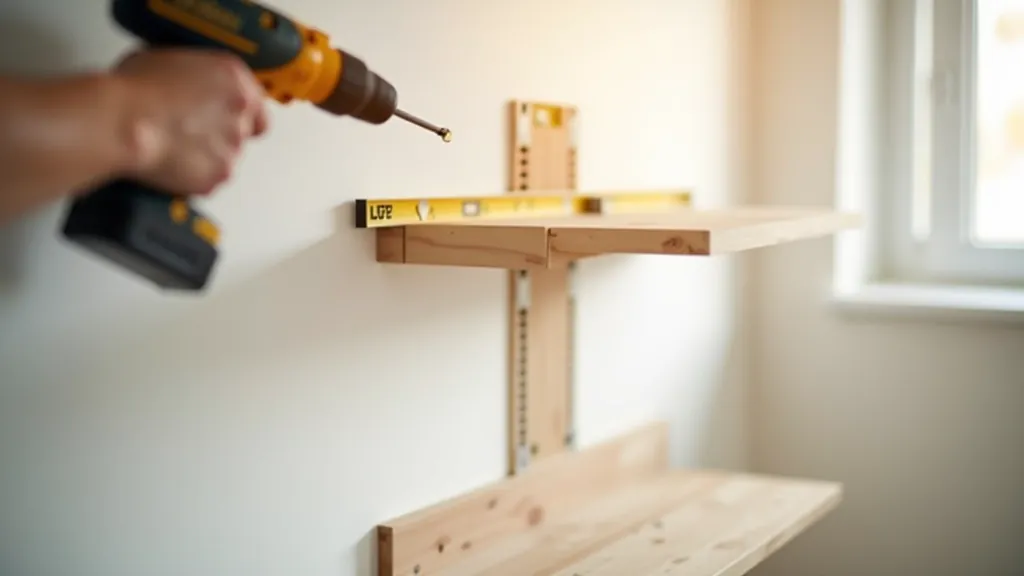
Here's what actually happens when you install them properly. It takes about 30-45 minutes per shelf if you know what you're doing.
Use a stud finder. Don't guess. Studs are typically 40cm apart in older buildings, sometimes 60cm in newer ones. Mark them with a pencil.
Use a level to mark a perfectly horizontal line where your shelf will sit. If you're off by even 5mm, it'll look crooked and feel wrong.
Drill pilot holes first — this prevents the wall from cracking. Install brackets into the studs with the right screws (usually 7-8cm wood screws).
Slide the shelf onto the brackets. Some shelves have locking pins — use them. This is what prevents the shelf from accidentally sliding off.
Installation is half the battle. The other half is actually styling them so your space doesn't look like a storage unit.
Group items in odd numbers — three books, three plants, a vase and two decorative objects. It's not magic, it's just how our eyes process visual balance. Evenly spaced items look too formal and sterile.
Don't line everything up at the same level. Vary the heights — tall book next to short decorative item next to medium plant. Different materials matter too. Wood, ceramic, metal, fabric. When you mix them, the shelf feels curated instead of random.
Pro tip: Leave breathing room. Don't fill every centimeter. Empty space is part of the design. A shelf that's 60% full usually looks better than one that's completely packed.
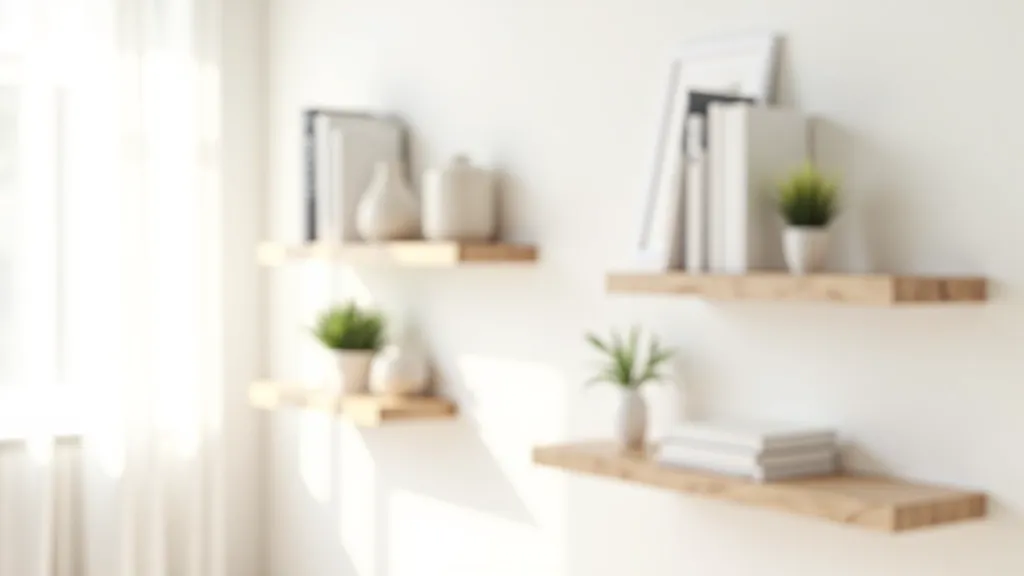

Once they're up, floating shelves need minimal maintenance. But a little attention goes a long way.
Every couple of months, check that everything's still level. Wood can shift slightly with humidity changes. If a shelf starts sagging (even 2-3mm), redistribute the weight or add another bracket. Don't wait until it's visibly drooping.
Dust collects on top of shelves faster than on regular furniture. Use a microfiber cloth, not a damp one — water can damage the wood finish. Wipe down monthly if you're keeping them looking sharp.
Don't load all the heavy stuff on one side. Even distribution matters. A shelf that holds 25kg total can handle 15kg on the left and 10kg on the right, but not 20kg on one side and 5kg on the other. The weight should spread across the brackets.
Floating shelves work because they solve a real problem — how to add storage without making a space feel cramped. They're versatile, they look modern, and when you install them right, they'll hold up for years without issues.
The key is doing the prep work. Spend time finding studs, marking the line level, and choosing your brackets carefully. The actual installation takes an hour. The result? A cleaner, more organized space that doesn't feel cluttered.
Start small with one shelf. Get comfortable with the process. Once you see how well it works, you'll probably want to add more.
This article is for informational purposes only. Installation methods and safety considerations may vary depending on your wall type, local building codes, and specific shelf systems. We recommend consulting the manufacturer's instructions and, if you're unsure about wall structure or load capacity, consulting with a professional installer or structural expert before proceeding. Improper installation can result in property damage or injury.